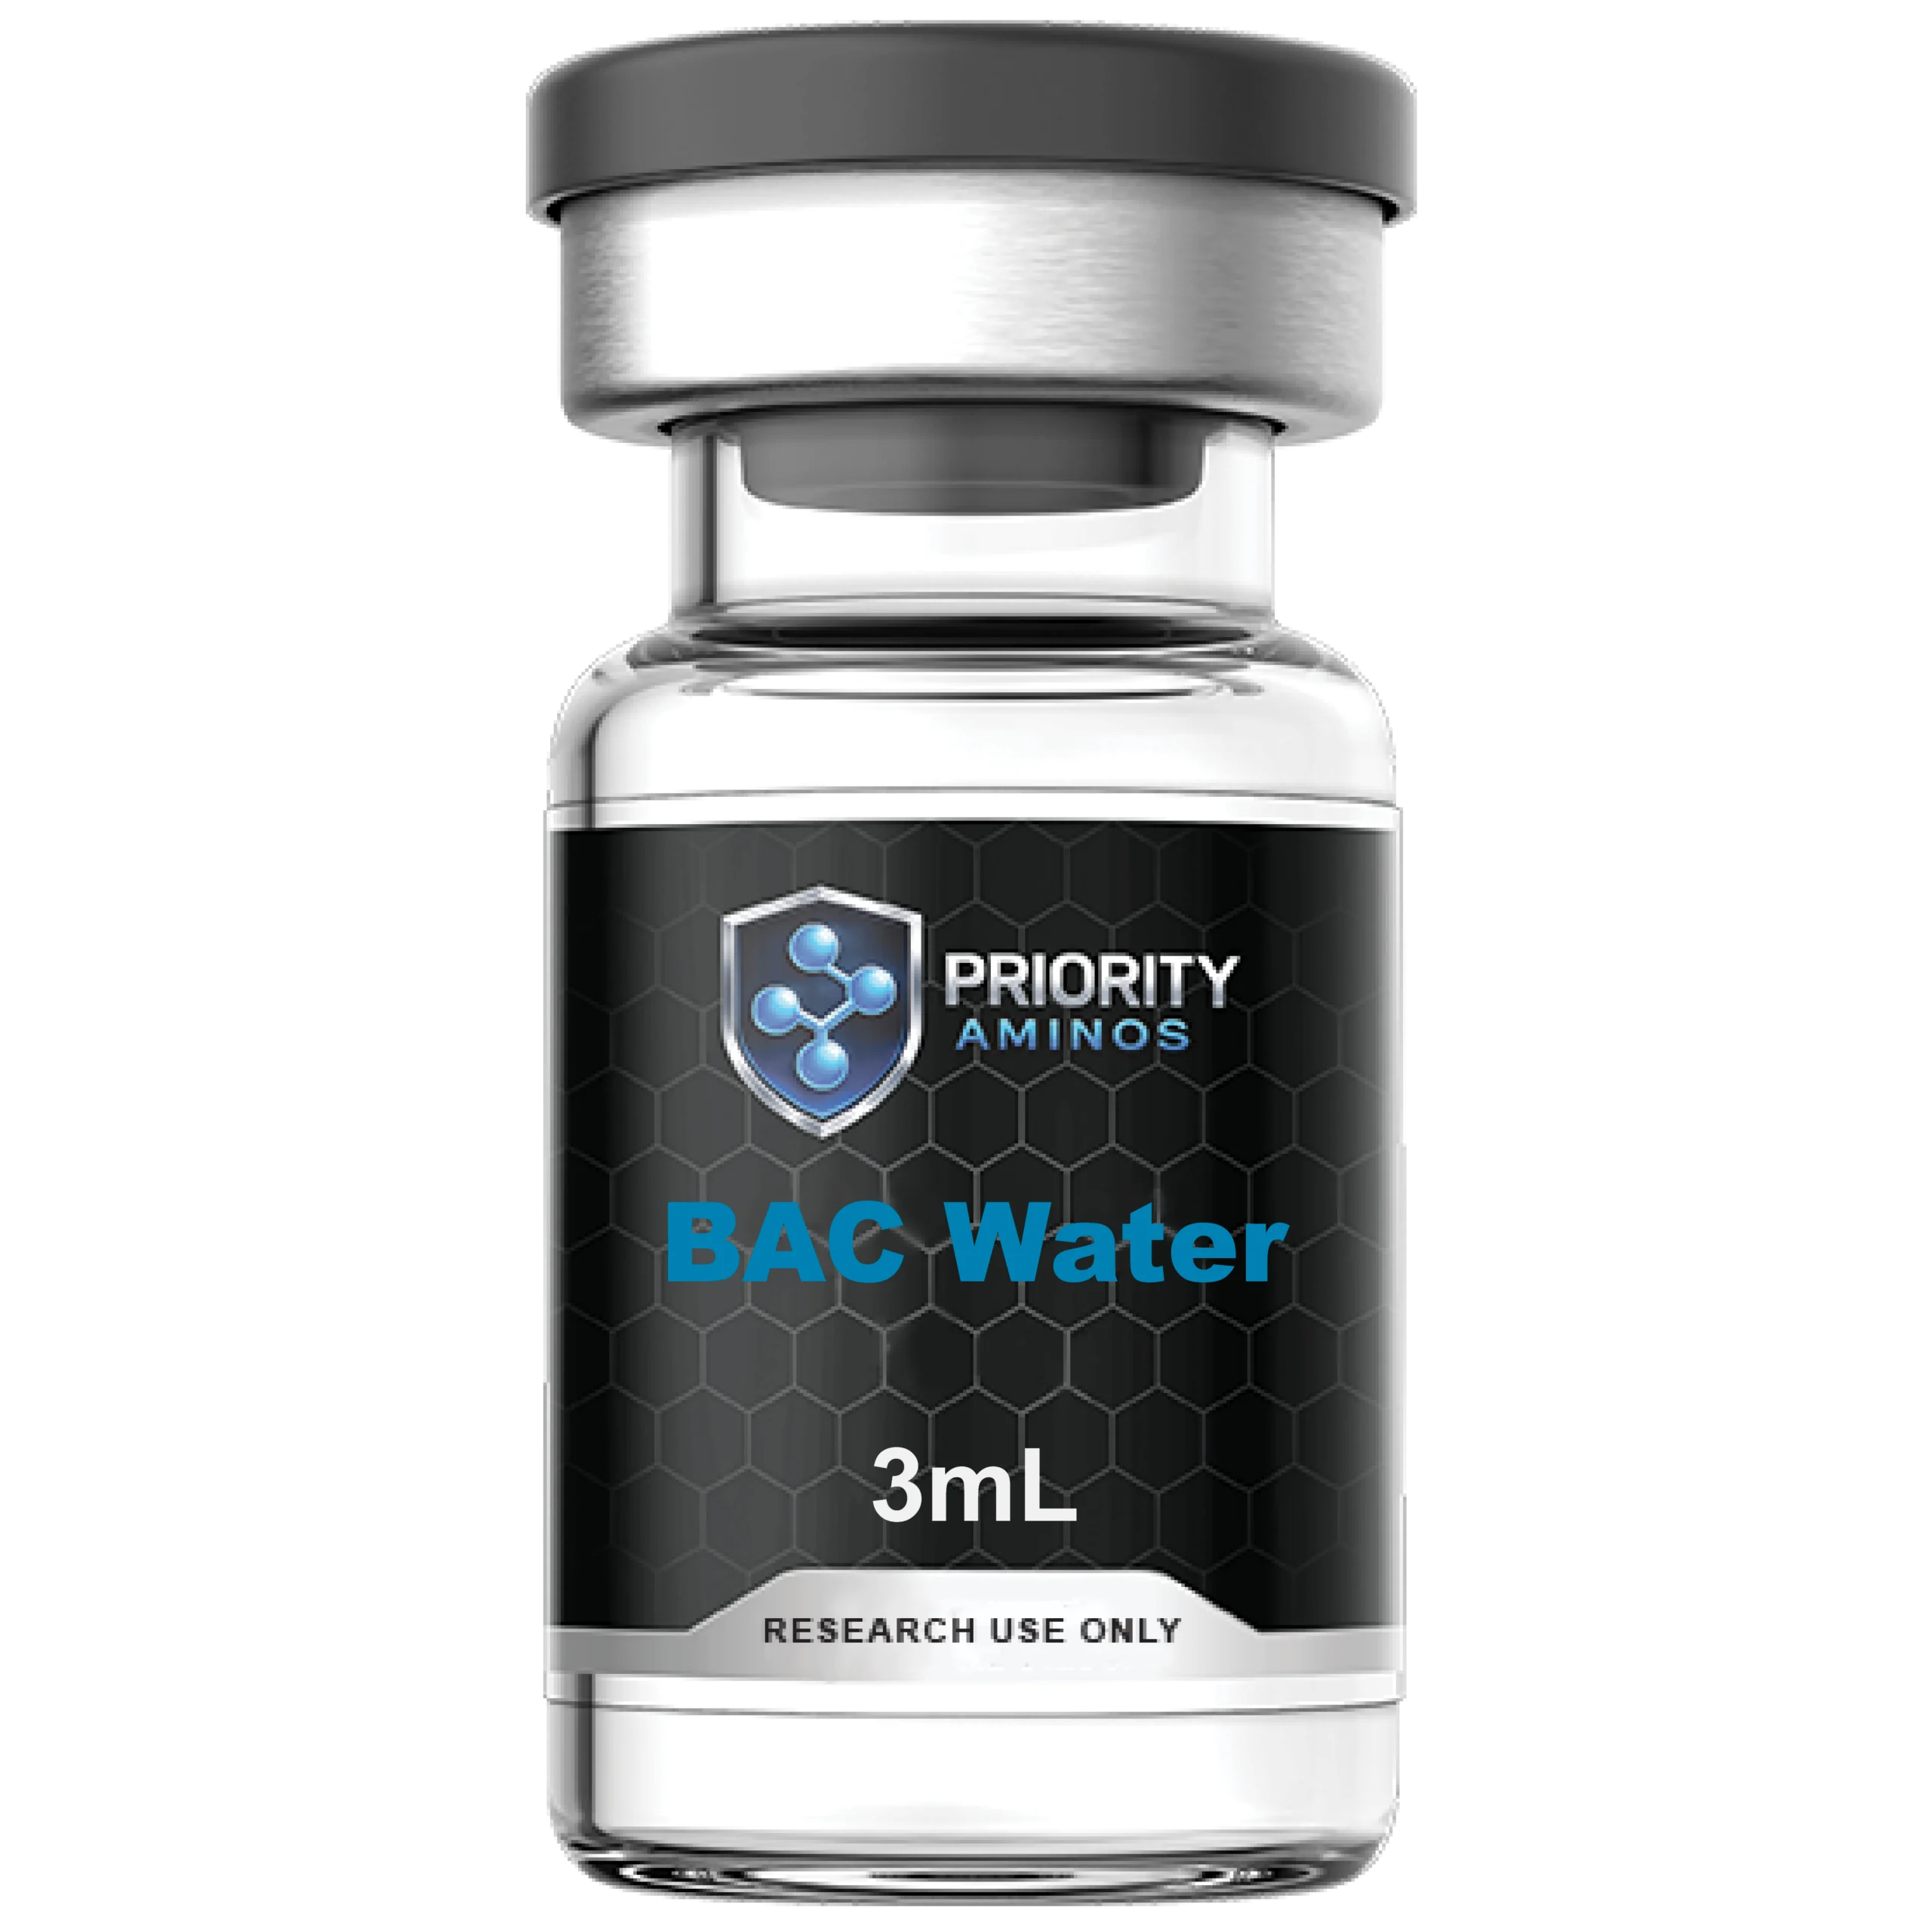
Amino Asylum Bac Water BAC Water 3mL, 10mL Laboratory Supply
Introduction
If you’ve ever had to diagnose why a batch of results “almost” worked—then failed after a reagent change—you already know the real problem: inconsistent reagent handling. In my hands-on lab experience, that variability usually traces back to something simpler than people expect: bac water prep, storage, and how you dispense it into reactions. This is exactly where the workflow around amino asylum bac water matters, especially when you’re running protocols that demand reliable, RNase/DNase-free (or at least consistent) water across many small reactions.
In this guide, I’ll walk you through how to choose and use BAC Water in common lab workflows (with a focus on 3 mL and 10 mL laboratory supply formats), what to watch for during dispensing, and how to reduce contamination and variability so your downstream steps behave predictably.
What BAC Water Is (and Why It Matters in Real Protocols)
“BAC water” is a practical label labs use for a water-grade reagent supplied for biological workflows—often associated with standardized, low-contamination expectations for sensitive steps. In day-to-day use, the point isn’t just “it’s water,” but that it supports reproducibility when you’re preparing mixes, dilutions, and buffers that later interact with enzymes, templates, or cell-based reagents.
When people struggle with repeatability, it’s rarely the chemistry of water itself. It’s usually one of these operational issues:
- Dispensing variability: slight volume differences in small reaction volumes can shift concentrations downstream.
- Contamination risk: aerosols and repeated open/close cycles increase the chance of introducing particulates or nucleases.
- Storage and thaw behavior: temperature swings can change how a lab behaves day-to-day (and how people handle it).
- Workflow mismatch: using the wrong pack size for your throughput leads to reopens, leftovers, and inconsistent handling.
That’s why an “amino asylum bac water” purchase isn’t just about product availability—it’s about aligning the format (3 mL vs 10 mL) with how your lab actually runs experiments.
Choosing Between 3 mL and 10 mL Laboratory Supply Formats
In my lab, the pack size decision is one of the highest-leverage choices for reagent consistency. Here’s how I think about 3 mL vs 10 mL for bac water:
| Format | Best fit for | Operational tradeoff | What I watch most |
|---|---|---|---|
| 3 mL (small vials) | High turnover, frequent experiments, smaller daily reaction counts | More inventory units to manage | Labeling discipline, vial-to-vial variability, and minimizing time with caps open |
| 10 mL (bulk laboratory supply) | Steady throughput, many plates/reactions per week, longer internal use windows | Higher impact if contamination occurs; more handling cycles | Dispensing method (pipette technique), limiting open time, and avoiding repeated probe contact |
Practical lesson from my workflow: when we switched from buying small vials for every single experiment to a larger supply, we didn’t just “save money”—we reduced the number of lot entries and improved consistency. But we only saw the benefit after we tightened our dispensing process (dedicated tips, minimal open time, and no touching pipette tips to non-sterile surfaces).
How to Use BAC Water Reliably in the Lab (Step-by-Step)
If you want fewer “mystery” failures, treat bac water like a consistency reagent—not a background detail. Below is a workflow I’ve used to reduce variability in small-volume assemblies and dilution steps.
1) Plan your dispense strategy before you open the bottle
Before you break the seal, decide how many reactions or dilution sets you need. I aim to dispense in one continuous session so the vial spends less time open.
2) Use consistent pipetting technique
- Pre-wet pipette tips if your protocol benefits from it (especially for viscous solutions, but the principle of consistent technique holds).
- Use barrier tips when contamination risk is part of your SOP.
- Avoid touching the pipette tip to the interior rim of the container.
3) Minimize exposure time
Time open matters. In my hands-on work, most contamination events happen during “quick” interventions—someone pauses to answer a question, then returns with the same setup. Reduce idle time and keep caps closed whenever possible.
4) Keep accurate labeling and lot tracking
Even water-grade reagents can differ by lot handling or supplier process. Track lot numbers in your lab notebook or LIMS so troubleshooting is faster when results drift.
5) Match pack size to your lab’s cadence
If you run experiments intermittently, the 3 mL format often reduces the temptation to keep a bottle open longer than it should be. If you run daily, 10 mL can be efficient—provided you enforce a controlled dispensing routine.
Common Failure Points (and How to Prevent Them)
When people say “the reagent must be bad,” I’ve learned to first check the operational factors. Here are the most common failure points I’ve observed around bac water handling:
- Cross-contamination via shared tips: If the same tip touches multiple tubes, you’re effectively creating a contamination pathway.
- Frequent vial opening: Repeated open/close cycles increase exposure risk and lead to inconsistent handling.
- Inconsistent volumes: Especially in small reaction volumes, tiny dispensing differences can shift final concentrations.
- Loose labeling: If you can’t trace which bac water you used, troubleshooting becomes slow and subjective.
- Workflow interruptions: Pauses during dispensing are when “small shortcuts” turn into measurable issues.
If you’re seeing performance drift that looks like a reagent problem, I recommend tightening these areas first. It’s typically faster—and cheaper—than changing protocols blindly.
Who Should Consider amino asylum bac water?
“amino asylum bac water” is a good fit when you need a dependable water reagent for biological lab workflows and you want a format that matches your practical throughput. Specifically:
- Teaching labs and core facilities: predictable handling reduces the chance of inconsistent prep across users.
- R&D teams running high repeatability experiments: small-volume reliability matters for downstream interpretation.
- Teams balancing inventory overhead: selecting 3 mL vs 10 mL based on cadence reduces waste and variability.
FAQ
Is BAC Water the same as “just water” for experiments?
Operationally, it functions like water, but what matters is consistency: controlled handling expectations and reliable supply formatting. In sensitive workflows, the difference between a well-managed reagent and an error-prone one is often the difference between repeatable results and inconsistent runs.
When should I choose the 3 mL BAC Water format vs the 10 mL laboratory supply?
Choose 3 mL if your experiments are intermittent or you want fewer extended open-time sessions per vial. Choose 10 mL if your throughput is steady and you can enforce a disciplined dispensing routine that minimizes exposure and avoids contamination.
How can I reduce contamination risk when using bac water?
Use consistent pipetting technique, minimize time the container is open, avoid tip contact with non-sterile surfaces, and maintain lot/label tracking so troubleshooting is grounded in process data.
Conclusion
Reliable experiments often come down to operational discipline. BAC Water—whether you select a 3 mL or a 10 mL laboratory supply format—can support consistent prep when you align the pack size with your workflow and tighten dispensing habits. In my hands-on experience, the biggest improvements weren’t “magic reagent” changes; they came from reducing open-time exposure, standardizing pipetting technique, and enforcing lot-aware labeling.
Next step: pick the pack size (3 mL or 10 mL) that matches your experiment cadence, then standardize a short dispensing routine (plan volumes first, minimize open time, use barrier tips/dedicated technique) before your next batch run.
Discussion